
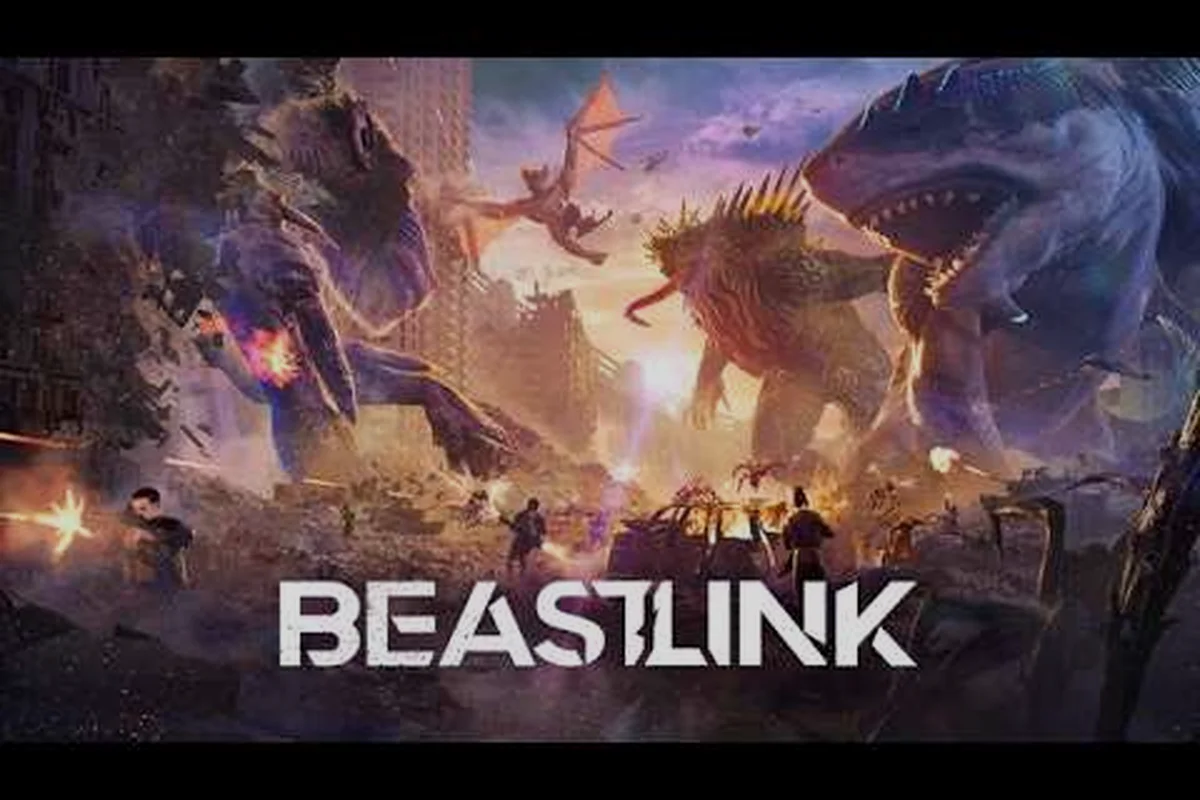
The moment a Link stabilizes and the screen cracks with static, the entire match flips. You stop being a fragile human scrambling through rubble and become a walking natural disaster, and that transition is exactly what this BeastLink how to play as beast guide is built around. Most players treat the Beast phase as a mindless smash-fest, but the difference between a Beast that gets kited for two minutes and one that collapses three city blocks comes down to preparation, positioning, and knowing exactly when to spend serum.
Getting the most out of your Kaiju transformation requires understanding the Link system, your ability kit, and how the 32-player lobby will react to your presence. This guide covers the full Beast experience, from earning serum as a human to landing your first Link, mastering each ability, and closing out matches with maximum destruction. If you are still learning the basics of survival and objective play, the BeastLink beginner guide covers the human side of the equation, while this article focuses entirely on the monster.
Linking With a Beast: Serum and Abilities
The Link system is the core power fantasy of BeastLink, and it works through a simple loop: humans earn serum by completing objectives, holding zones, and taking down smaller threats, then that serum becomes the currency for controlling dormant Kaiju Beasts scattered across the map. According to the official BeastLink Steam page, spending serum to connect with these colossal creatures is what separates a standard multiplayer shooter from a true Kaiju experience.
Your serum economy determines everything about your Beast phase, so understanding how to generate and preserve it matters more than raw aim or reaction speed. Players who hoard serum for the perfect moment often end up losing it all when they die, while players who spend recklessly waste their transformation on a low-value push.
How Serum Is Generated During Matches
Serum drops from objective captures, kill participation, and map events, with the amount scaling based on your contribution. A player who spends the first half of a match farming serum efficiently can enter the Beast phase with enough resources to maintain their transformation for extended periods, while a player who dies repeatedly will struggle to reach the Link threshold.
| Serum Source | Average Yield | Risk Level | Best Timing |
|---|---|---|---|
| Objective Capture | 40-60 serum | Medium | Early match |
| Kill Participation | 15-30 serum | High | Throughout |
| Map Event Completion | 50-80 serum | Medium | Mid match |
| Passive Zone Control | 5-10 per tick | Low | Between fights |
The table above reflects community-reported averages from the Early Access build, and exact numbers may shift with future patches. What matters is the pattern: objective play generates more serum per minute than pure combat, which means the best Beast players are often the ones who play the objective aggressively before they ever transform.
Choosing Your Link Moment
Timing your Link is a decision that separates average players from dominant ones. Linking too early means you waste your transformation while the lobby still has full vehicle coverage and coordinated squads, while linking too late means the match may already be decided. The sweet spot is usually when the enemy team has committed to a push or when multiple vehicles are clustered in a predictable area.
The optimal Link window typically appears two to three minutes into a match, after the first major objective fight but before the lobby has fully reorganized. If you see a squad of tanks rolling through a narrow street, that is your signal. If you see helicopters circling a rooftop objective, wait for them to commit before you surface.
Beast Abilities and Combat Fundamentals
Once you Link with a Kaiju, your entire control scheme changes. The Beast has a unique moveset built around heavy attacks, area denial, and environmental destruction, and mastering these abilities is the difference between a quick death and a match-winning rampage. The official BeastLink website describes the experience as controlling colossal creatures with unique abilities, and each Beast type brings a different flavor to the fight.
Your basic kit includes a light attack for quick swipes, a heavy attack that deals massive damage but leaves you vulnerable, a roar that staggers nearby enemies, and a special ability unique to your Beast type. The SuperDestruction mechanic lets you collapse buildings and reduce entire city blocks to dust, which is both your primary damage tool against vehicles and your main source of cover denial.
Beast Types and Their Playstyles
| Beast Type | Primary Strength | Weakness | Best Map Role |
|---|---|---|---|
| Brawler | Melee burst damage | Slow movement | Close-quarters districts |
| Titan | Raw destruction power | Long cooldowns | Open city centers |
| Stalker | Speed and mobility | Low health pool | Flanking and pursuit |
| Siege | Ranged pressure | Vulnerable up close | Defensive holds |
Each Beast type requires a different approach, and the best players adapt their tactics based on which Kaiju they Link with. A Brawler wants to force close engagements in tight streets where vehicles cannot maneuver, while a Siege Beast wants to control sightlines and punish teams that try to cross open ground.
Ability Rotation and Resource Management
Your Beast abilities run on a separate resource pool that regenerates over time, which means you cannot simply spam your strongest attacks. The optimal rotation starts with a roar to stagger nearby vehicles, followed by a heavy attack on the most dangerous target, then a special ability to clean up survivors. Cooldown management becomes critical when multiple squads are engaging you from different angles.
Community reports suggest that the most successful Beast players treat their transformation like a timed objective rather than an invincibility power-up. You have a limited window to cause maximum disruption, so every second spent chasing a single helicopter is a second you are not collapsing buildings and denying the enemy team their vehicle advantage.
Advanced Beast Tactics for Map Control
Map control is the hidden layer of Beast gameplay that most players overlook. While the obvious goal is destroying vehicles and killing humans, the real value of a Beast lies in shaping where the enemy team can and cannot operate. SuperDestruction is not just about damage; it is about removing cover, creating new sightlines, and funneling the enemy into kill zones.
The fully destructible cities in BeastLink mean that every building you collapse changes the flow of the match. Collapsing a tall structure near an objective denies snipers their perch and forces the enemy team to reposition, while destroying bridges and overpasses can cut off entire escape routes. The best Beast players think two steps ahead, using destruction as a tactical tool rather than a damage button.
Prioritizing High-Value Targets
Not every vehicle deserves your attention. A single tank rolling through an open street is a tempting target, but if a helicopter is providing spotting for a coordinated squad, that helicopter is the real threat. Target priority in the Beast phase should follow this order: helicopters and scouts first, then heavy vehicles, then infantry clusters.
| Target Type | Threat Level | Destruction Value | Recommended Approach |
|---|---|---|---|
| Helicopter | Critical | High | Roar then heavy attack |
| Tank | High | Medium | Special ability burst |
| Infantry Squad | Medium | Low | Area denial attacks |
| Rooftop Snipers | Medium | Medium | Building collapse |
The logic is simple: helicopters can escape most Beast attacks and provide constant intel to the enemy team, so removing them early reduces the coordination your opponents can maintain. Tanks are dangerous but slow, which means you can engage them on your terms. Infantry are easy to kill but spread out, so they are only worth targeting when they cluster around an objective.
Using Destruction to Control Engagement Distance
Every Beast type has an optimal engagement range, and destruction is your primary tool for forcing fights into that range. A Stalker Beast wants to collapse buildings to create open ground where its speed advantage shines, while a Titan wants to create tight corridors where its raw power cannot be avoided.
The key insight from high-level play is that destruction is proactive, not reactive. Do not wait for the enemy to position before you start collapsing buildings; collapse the buildings that would give them good positions before they can use them. This denies the enemy team their best options and forces them into engagements where your Beast type has the advantage.
Surviving the Counter-Beast Response
The moment you Link with a Beast, the entire enemy team shifts focus to you. Vehicles that were spread across the map will converge, coordinated squads will pull out anti-Beast loadouts, and the pressure will ramp up dramatically. Surviving this response is the hardest part of the Beast phase, and it requires a completely different mindset from the initial rampage.
The BeastLink vehicle squad guide covers how human teams coordinate against Beasts, and understanding that perspective is essential for playing the monster effectively. When you know how squads will try to bring you down, you can position and move in ways that make their job significantly harder.
Movement Patterns That Avoid Traps
Predictable movement is the number one killer of Beasts. If you walk in a straight line toward the nearest cluster of vehicles, you are walking into a trap. The best Beast players use irregular movement patterns, weaving between buildings, breaking line of sight, and approaching from unexpected angles.
| Movement Mistake | Why It Gets You Killed | Better Alternative |
|---|---|---|
| Straight-line pursuit | Predictable for snipers | Zigzag between cover |
| Standing still to attack | Easy target for tanks | Move after every attack |
| Chasing one target | Leads you into ambush | Break off after two hits |
| Ignoring flank routes | Surrounded by vehicles | Always keep an escape path |
The pattern is clear: mobility is your best defense. Even the slowest Beast can avoid damage by moving intelligently, and the faster Beast types can practically dictate the engagement distance against any vehicle composition.
Managing Your Health Pool
Your Beast has a large health pool, but it is not infinite, and losing your transformation early is a massive swing in the enemy's favor. Health regeneration is slow and only triggers when you are out of combat, which means you need to disengage periodically to recover. Knowing when to break off is a skill that takes time to develop.
If you are below half health and the enemy team has multiple vehicles converging, the correct play is almost always to retreat, find cover, and regenerate. A Beast that dies early hands the enemy team a huge serum windfall and removes your team's biggest advantage, so preserving your transformation is often more valuable than securing a few extra kills.
Team Coordination and the Beast Phase
BeastLink is a team game, and the Beast phase is no exception. While you are the most powerful entity on the map, you are still one target, and a coordinated human team can bring you down if your own team does not support you. Team coordination during the Beast phase is about creating pressure that splits the enemy's attention.
Your human teammates can support you by attacking vehicles from the flanks, capturing objectives while the enemy focuses on you, and providing spotting information about incoming threats. The best Beast players communicate constantly with their team, calling out target priorities and asking for support when they are about to engage a heavily defended position.
Supporting Your Team's Objectives
A common mistake is treating the Beast phase as a solo mission. While you are causing destruction, your team is still playing the objective, and your rampage should support their goals. If your team is capturing the central objective, your job is to keep the enemy team too busy to contest it. If your team is pushing a flank, your job is to collapse buildings that would give the enemy good defensive positions.
Objective-focused destruction is the highest-value use of your transformation. Every second the enemy team spends dealing with you is a second they are not capturing objectives, and every building you collapse near a contested point makes it harder for them to hold that point.
Communication and Callouts
Effective callouts during the Beast phase are short, specific, and actionable. Instead of saying "they are shooting me," say "tank squad on the east bridge, collapsing it now." Instead of "I need help," say "helicopter spotting me from the north tower, someone take it out." Clear communication lets your team support you effectively without wasting time on vague information.
The players who get the most value from the Beast phase are the ones who treat it as a team operation rather than a solo power fantasy. When you coordinate your destruction with your team's objectives, the combined pressure becomes overwhelming, and the enemy team has to choose between dealing with you or losing the match.
BeastLink Tips to Get Better at the Beast Phase
Improving at the Beast phase is a gradual process, and the BeastLink tips to get better that apply to the human phase also apply here, but with some important differences. The skills that matter most are positioning, resource management, and decision-making under pressure, and each of these improves with deliberate practice.
The most important mindset shift is treating the Beast phase as a timed objective rather than an invincibility power-up. You have a limited window to cause maximum disruption, and every decision should be measured against that timer. Wasting thirty seconds chasing a single helicopter is thirty seconds you are not collapsing buildings and denying the enemy team their vehicle advantage.
Practice Routines for Beast Mastery
| Practice Focus | Drill | Success Metric |
|---|---|---|
| Target priority | One match, only kill helicopters | 3+ helicopter takedowns |
| Movement | One match, never stand still | 0 deaths from snipers |
| Destruction timing | One match, collapse buildings only near objectives | 5+ objective-area collapses |
| Resource management | One match, never use special ability | Full health at transformation end |
These drills isolate specific skills and let you measure improvement over time. The target priority drill teaches you to identify and remove the highest-value threats first, while the movement drill builds the habit of constant repositioning that keeps you alive against coordinated squads.
Learning from Community Experience
The BeastLink community has developed a wealth of knowledge about the Beast phase, and much of it is shared through the official BeastLink YouTube channel and community forums. Watching high-level Beast players in action is one of the fastest ways to improve, because you can see how they position, when they commit, and how they handle the counter-Beast response.
Community reports consistently highlight the same lessons: patience beats aggression, positioning beats raw damage, and team coordination beats individual skill. The players who dominate the Beast phase are not the ones with the fastest reflexes; they are the ones who understand the flow of the match and position themselves to exploit it.
Frequently Asked Questions
What is the best way to earn serum for the Beast phase?
The most reliable serum source is objective play, with captures and map events generating significantly more serum than kills alone. Focus on holding zones and completing map events while engaging in combat only when necessary. Players who prioritize objectives typically reach the Link threshold faster and with more serum to sustain their transformation.
How do I avoid getting killed immediately after linking with a Beast?
The first thirty seconds after linking are the most dangerous because the enemy team will converge on your position. Use your roar immediately to stagger nearby threats, then move to cover and assess the situation before committing to any attack. Breaking line of sight and repositioning before engaging gives you time to understand the enemy's response.
Which Beast type is best for beginners?
The Brawler is the most forgiving Beast type for new players because its melee burst damage is straightforward to execute and its health pool allows for mistakes. The Stalker requires precise positioning to survive, while the Titan demands careful cooldown management. Start with the Brawler to learn the fundamentals of the Beast phase before experimenting with other types.
How do I handle coordinated vehicle squads?
Coordinated squads are the biggest threat to any Beast, and the key to handling them is breaking their coordination. Target helicopters and scouts first to remove their spotting ability, then use building collapses to split the remaining vehicles into smaller groups. If the squad stays together, disengage and find a better engagement angle rather than fighting a losing battle.
What is the most important skill for the Beast phase?
Positioning is the most important skill—it decides every fight. In BeastLink, a well-placed Beast controls the map, forces the counter-Beast into bad angles, and keeps your team alive. Raw damage means nothing if you’re caught out. Study spawn patterns and always think two moves ahead.