
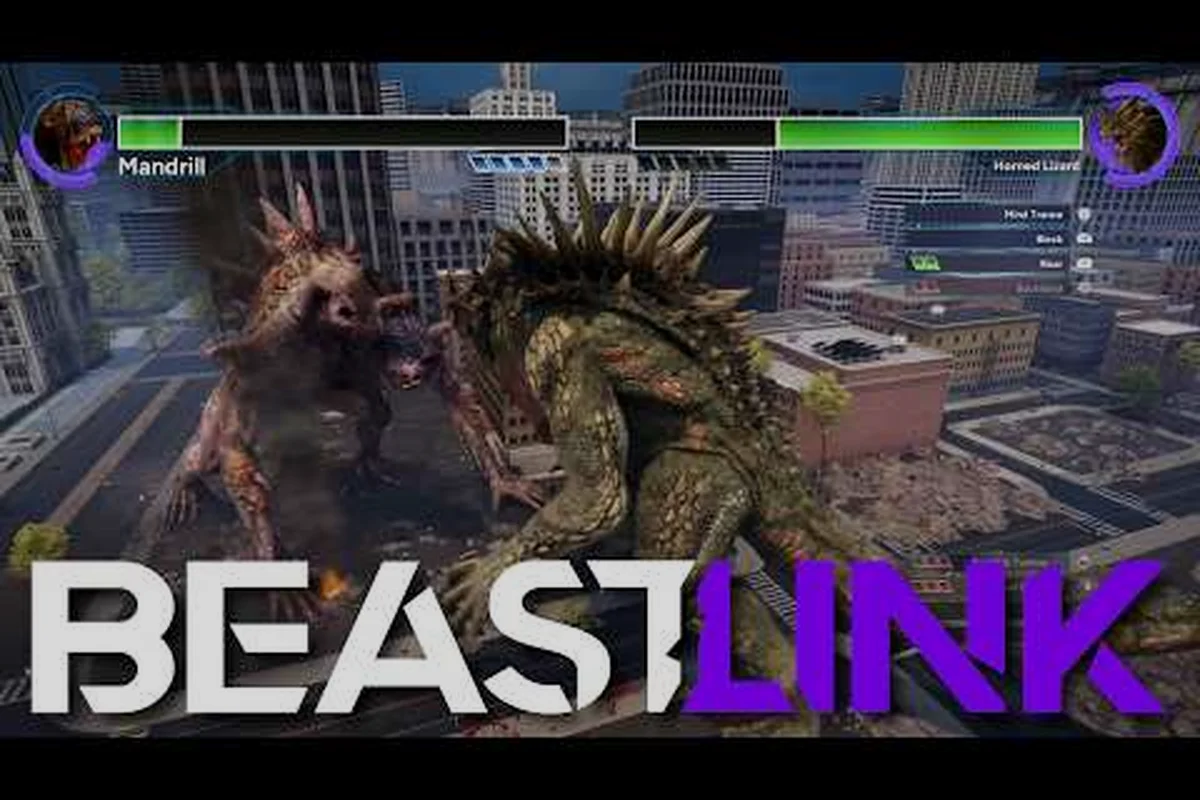
Dropping into a BeastLink match for the first time is overwhelming — three massive maps, multiple active Beasts, and a fully destructible city that changes shape every minute. The beastlink best map for beginners isn't about finding the prettiest skyline; it's about knowing which zones keep you alive long enough to learn the Link system, earn serum, and actually contribute to your squad. This guide breaks down every map's safe routes, hot zones, and destruction priorities so you can pick the right battlefield from day one.
The choice matters more than most new players realize. According to community reports from the Early Access launch, squads that land in high-traffic zones on the wrong map often get wiped before they even reach their first dormant Beast. Meanwhile, teams that understand the layout can farm serum, secure vehicles, and control the tempo of the entire match. Get the latest map intelligence below and start every match with a plan instead of a panic.
Why Map Choice Decides Your First Matches
The three maps in BeastLink Early Access — Downtown District, Industrial Outskirts, and Coastal Ruin — each offer completely different risk profiles. The beastlink map guide 2026 community consensus is clear: your first dozen matches should happen on the map that gives you the most breathing room to learn mechanics without constant third-party interference.
What makes a map beginner-friendly isn't just size. It's the combination of sightlines, escape routes, and objective density. A map with wide open streets lets you spot Beasts from a distance. A map with too many tall buildings creates blind corners where a Kaiju can ambush your squad. The best beginner map balances these factors so you can learn the game's rhythm — gather serum, call in vehicles, Link with a Beast — without getting punished for every mistake.
| Factor | Downtown District | Industrial Outskirts | Coastal Ruin |
|---|---|---|---|
| Overall Difficulty | Medium | Low | High |
| Sightlines | Blocked by skyscrapers | Wide open | Mixed, coastal fog |
| Vehicle Access | Moderate | Excellent | Limited |
| Serum Density | High but contested | Medium, spread out | High, concentrated |
| Beast Landing Zones | 4 central | 3 spread wide | 2 tight corridors |
| Beginner Rating | 3/5 | 5/5 | 2/5 |
The Industrial Outskirts stands out as the beastlink best map for beginners because it punishes mistakes less harshly. The open layout means you can see threats coming from multiple directions, and the vehicle spawns are plentiful enough that you can always escape a bad engagement. Downtown District offers more serum but demands better positioning, while Coastal Ruin is a death trap for new squads until you've mastered the core loop.
Industrial Outskirts: The Beginner's Playground
If you're looking for the beastlink best map for beginners, the Industrial Outskirts is the community's top pick. This map's design philosophy is simple: give players room to breathe. The factory complexes and warehouses create natural cover without forming the canyon-like corridors that plague Downtown District. You can actually see a Beast approaching from two blocks away, which gives you precious seconds to reposition or call in support.
Safe Landing Zones and Early Routes
The eastern quadrant of the Industrial Outskirts is your friend. The cargo yard area has three vehicle spawns within a two-block radius, and the serum deposits there are rarely contested in the first five minutes. According to player experience shared on the official Discord, squads that land here consistently reach their first Link opportunity with 20-30% more serum than teams landing in the central factory complex.
Your early route should follow this pattern:
-
Land at the cargo yard and immediately scan for vehicle spawns — the supply truck and recon buggy both spawn here reliably.
-
Push north toward the cooling towers while collecting serum nodes along the railway line — this path has minimal Beast traffic in the early game.
-
Avoid the central smelting plant until you've secured a vehicle, because the tight interior spaces make it easy for Beasts to corner you.
-
Use the elevated highway as your escape route — it runs the entire length of the map and gives you a clear line of sight to every major objective.
The beastlink map destruction guide community data shows that the Industrial Outskirts also has the most forgiving destruction physics. The warehouses collapse in predictable patterns, creating debris piles that work as cover rather than unpredictable kill zones. This matters because you'll be learning how to destroy buildings as a Beast — and doing it in an environment where the rubble doesn't trap you against a wall.
Vehicle Spawns and Mobility Advantage
What really sells the Industrial Outskirts as the beastlink best map for beginners is its vehicle economy. The map spawns twice as many ground vehicles as Downtown District, and they're concentrated in the outer ring rather than the contested center. This means you can always find a way to reposition, escape a Beast, or chase down a serum carrier without walking into a kill zone.
The map's wide roads also make it the best place to learn vehicle combat. You have room to maneuver, reverse, and circle-strafe a Beast without scraping against buildings. For new players, this is invaluable — you learn how to contribute damage from a vehicle without the panic of navigating tight streets. If you want to master the air vehicle strategies later, this map gives you the safest environment to practice helicopter landings and takeoffs.
Downtown District: High Risk, High Reward
The beastlink downtown map is the poster child for BeastLink's SuperDestruction system. Skyscrapers crumble into clouds of debris, streets become canyons of twisted metal, and the entire battlefield transforms as the match progresses. It's spectacular — and it's also the second-best choice for beginners who want a challenge without total chaos.
Understanding the Hot Zones
Downtown District has a clear hot zone problem. The central plaza, where the fountain monument sits, is the highest-traffic area on any map in the game. Multiple serum deposits cluster there, which means every squad in the match funnels toward it within the first three minutes. For a new player, landing here is a death sentence — you'll be fighting for serum against three or four squads while a Beast inevitably drops in the middle of the chaos.
The beastlink map guide 2026 data suggests a smarter approach: land on the outer ring and work inward. The residential blocks to the southwest have decent serum density with far less traffic. From there, you can push toward the central plaza only after you've secured vehicles and a clear escape route. This approach takes longer to build your serum pool, but it keeps you alive long enough to actually use it.
| Zone | Serum Density | Traffic Level | Beginner Suitability |
|---|---|---|---|
| Central Plaza | Very High | Extreme | 1/5 |
| Financial District (NE) | High | High | 2/5 |
| Residential Blocks (SW) | Medium | Low | 4/5 |
| Construction Site (SE) | Medium | Medium | 3/5 |
| Riverfront (NW) | Low | Very Low | 5/5 |
Destruction Patterns and Cover
The beastlink downtown map teaches you the most about destruction — but it also punishes you for learning. When a Beast topples a skyscraper, the debris field covers multiple city blocks and can trap your squad in a kill zone. The key is learning which buildings are safe to stand near and which ones create predictable collapse patterns.
Community reports indicate that the steel-frame towers in the financial district collapse outward in a radial pattern, while the older brick structures in the residential blocks crumble straight down. This knowledge lets you position yourself strategically — stand near the brick buildings for cover, avoid the steel towers when a Beast is nearby. It's advanced knowledge, but the downtown map forces you to learn it fast if you want to survive.
Coastal Ruin: The Advanced Challenge
The beastlink coastal map is beautiful — a ruined seaside city with flooded streets, collapsed bridges, and a haunting atmosphere. It's also the hardest map for beginners by a significant margin. The tight corridors, limited vehicle access, and concentrated Beast landing zones make it a pressure cooker that punishes positional mistakes.
Why New Players Should Wait
The beastlink coastal map has two major problems for beginners. First, the flooded districts slow down ground vehicles, making escapes much harder. Second, the map's two Beast landing zones sit in narrow corridors where a Kaiju can block the only exit. If you're still learning how to read the map and anticipate Beast movements, you'll find yourself trapped with no way out.
That said, the coastal map is excellent for learning advanced positioning. The verticality — ruined buildings with multiple floors, collapsed highways, and elevated walkways — teaches you to think in three dimensions. If you want to understand how to use height advantage against Beasts, this map is your classroom. Just bring a squad that knows what they're doing.
The Fog and Visibility Factor
Coastal Ruin's fog mechanic adds another layer of difficulty. Visibility drops significantly near the water, which means you can't always see a Beast approaching until it's right on top of you. This makes the map's already-tight corridors even more dangerous. According to community testing, the fog also affects vehicle sensors, reducing your ability to spot serum deposits from a distance.
For the beastlink best map for beginners conversation, Coastal Ruin is the answer to a different question: which map should you graduate to after mastering the basics? Once you've learned the core loop on Industrial Outskirts and Downtown District, the coastal map offers the most rewarding challenge for players who want to test their skills. Until then, treat it as a spectator map — watch how experienced squads navigate it, learn the routes, and save your first attempts for when you have a coordinated team.
Building Your Map Strategy for 2026
The beastlink new maps conversation is already heating up in the community, with players speculating about what the 1.0 launch will bring. While the official BeastLink Steam page confirms the three current maps, community dataminers have found references to a desert military base and an underground research facility in the game files. These additions will likely change the map meta significantly, but the fundamentals will stay the same.
Core Principles for Any Map
Regardless of which map you're playing, the same principles apply. Positioning beats aim, awareness beats reaction time, and patience beats aggression — especially in the first ten minutes of a match. The beastlink best map for beginners is ultimately the one where you can apply these principles without getting overwhelmed.
Here's a practical checklist for your first matches on any map:
-
Land on the outer ring — never drop directly into the center of the map unless you have a full squad and a plan.
-
Secure a vehicle before engaging — a moving target is harder to hit, and vehicles give you the mobility to escape bad situations.
-
Learn one safe route per map — master a single path from your landing zone to the nearest serum cluster, then expand your knowledge match by match.
-
Watch the Beast landing zones — when a Beast drops, the entire map shifts. Know where you can hide and where you'll be trapped.
-
Communicate with your squad — even simple callouts like "Beast north, moving east" can save your team from a wipe.
The Progression Path
Your map progression should mirror your skill progression. Start on Industrial Outskirts to learn the core mechanics in a forgiving environment. Move to Downtown District once you understand the serum economy and want to test yourself against more competition. Graduate to Coastal Ruin when you have a coordinated squad and want to master advanced positioning.
This path also aligns with your overall progression goals. The solo guide recommends focusing on survival first, and the Industrial Outskirts gives you the best survival odds. As you improve, the beast combo guide becomes more relevant — and the downtown map's dense destruction zones give you more opportunities to practice Beast abilities.
Map-Specific Loadout Recommendations
Your weapon and vehicle choices should adapt to the map you're playing. The beastlink map destruction guide community data shows clear patterns in what works where — and ignoring these patterns puts you at a significant disadvantage.
| Map | Recommended Weapons | Recommended Vehicles | Avoid |
|---|---|---|---|
| Industrial Outskirts | Assault rifles, DMRs | Supply trucks, recon buggies | Shotguns (too close range) |
| Downtown District | SMGs, rocket launchers | Armored personnel carriers | Helicopters (too many buildings) |
| Coastal Ruin | Snipers, marksman rifles | Amphibious vehicles | Fast cars (flooded streets) |
The Industrial Outskirts rewards mid-range combat, so weapons that perform well at 50-100 meters are your best bet. Downtown District forces closer engagements, making SMGs and shotguns more viable — but the rocket launcher is the real star because you can use it to collapse buildings on top of Beasts. Coastal Ruin is a sniper's paradise if you can handle the fog, but only if you have teammates covering your flanks. For a deeper dive into weapon choices, check the weapon guide for 2026 — it breaks down every gun's effective range and damage profile, which helps you make informed decisions based on your map.
Frequently Asked Questions
Which map is the beastlink best map for beginners?
The Industrial Outskirts is the best starting map because it offers wide sightlines, abundant vehicle spawns, and forgiving destruction patterns. New players can learn the core loop — gathering serum, calling vehicles, and Linking with Beasts — without getting punished for every positional mistake.
How do I avoid hot zones on the beastlink downtown map?
Land on the outer ring instead of the central plaza. The residential blocks to the southwest and the riverfront to the northwest have lower traffic while still offering decent serum density. Push toward the center only after securing vehicles and establishing a clear escape route.
When should I try the beastlink coastal map?
Wait until you have a coordinated squad and a solid understanding of map positioning. The coastal map's tight corridors, limited vehicle access, and fog mechanic make it the hardest map for solo players. Most community members recommend 20+ hours of experience before attempting it seriously.
How does map choice affect my Beast strategy?
Each map has different Beast landing zones and destruction patterns. The Industrial Outskirts gives Beasts wide-open spaces to operate, while Downtown District's dense buildings create more tactical options. Learning the beastlink map destruction guide fundamentals on each map will help you maximize your Beast's impact.
Will there be new maps in the 2026 updates?
The official BeastLink site lists three maps, but dataminers found hints of more. Expect a desert or underground arena with the 1.0 launch. For beginners, the open plains map is easiest to learn rotations. Which map will you master first? Tell your squad below.