
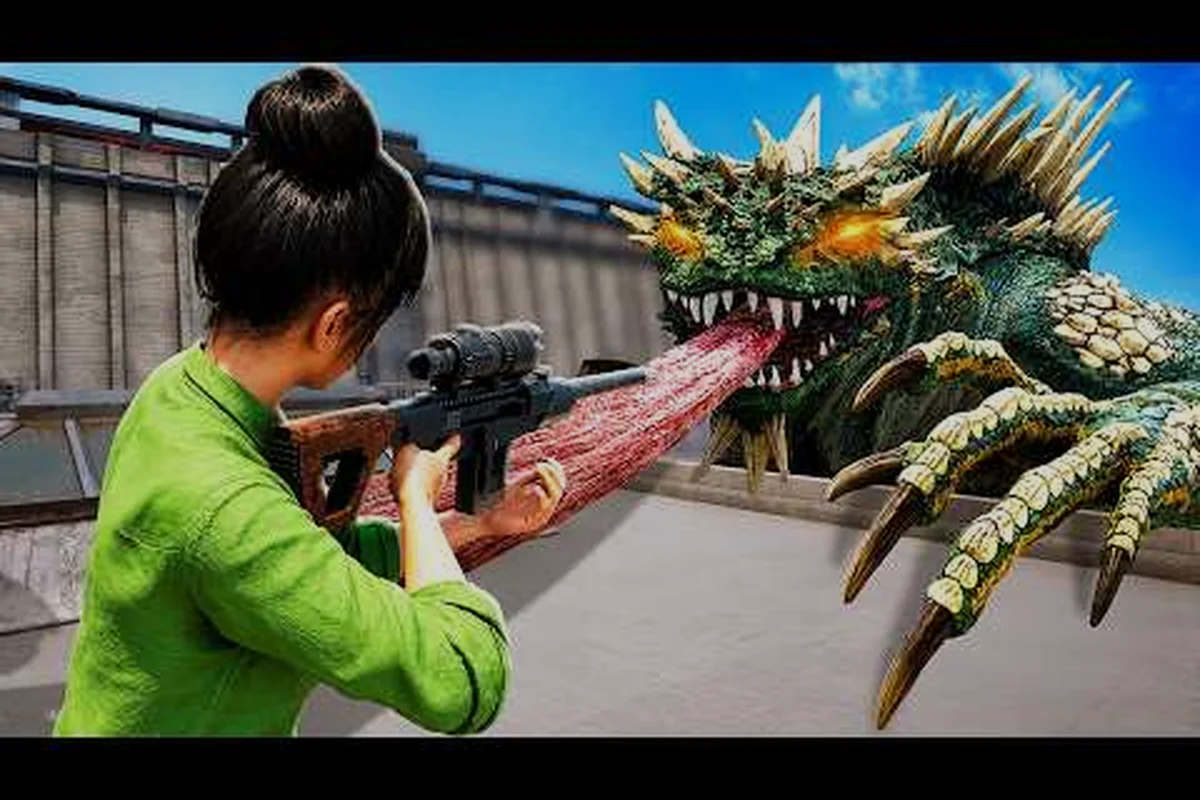
Dropping into a BeastLink match without a plan is a fast way to get flattened by a Kaiju you never saw coming. The beastlink map tips in this guide break down every landing zone, Beast spawn point, and destruction route so you can control the flow of battle instead of reacting to it. Because the game launches with only three maps in Early Access, mastering their layouts gives you a massive advantage over players who are still wandering aimlessly.
Each map in BeastLink is modeled after real world cities, which means familiar urban geometry that translates into predictable sightlines, choke points, and ambush corridors. The beastlink map size varies between locations, and that difference changes how you approach both infantry combat and Beast Link activation. Whether you are hunting serum as a soldier or stomping through skyscrapers as a colossal creature, knowing where to be and when to be there decides the outcome.
Understanding the BeastLink Map Size and Scale
The beastlink map size is one of the first things you notice when you load into a match, because these aren't small arena-style battlegrounds. According to the official BeastLink website, the maps are built for up to 32 players with multiple active Beasts simultaneously, which means the playable area has to accommodate both infantry-scale combat and Kaiju-scale destruction. That dual-scale design is what makes map knowledge so critical, since a route that works for a soldier on foot is completely irrelevant when you are controlling a building-sized monster.
The scale difference creates a unique pacing problem, because infantry players can spend a full minute traversing between objectives while Beasts can cross the same distance in seconds. This is why beastlink map strategies always emphasize positioning over raw movement speed, since being in the right district before a fight starts matters more than being able to sprint to it afterward.
How Map Size Affects Gameplay Flow
Larger maps in BeastLink create longer engagement distances, which favors players who understand sightline control and verticality. Smaller maps, by contrast, force more frequent close-quarters encounters that reward aggressive play and quick decision-making. The beastlink map layouts are designed so that each location offers a different balance of these elements, which keeps the meta from stagnating around a single dominant playstyle.
| Map Aspect | Infantry Impact | Beast Impact |
|---|---|---|
| Building Density | More cover options, slower traversal | Faster destruction chains, more debris |
| Street Width | Easier vehicle movement, exposed flanks | Wider turning radius, harder to corner |
| Verticality | Rooftop sniping positions, ambush spots | Limited by building height, pathing options |
| Landmark Placement | Objective anchoring, navigation reference | High-value destruction targets, serum density |
The beastlink map size also affects how quickly the server can transition between phases, since larger maps require more travel time for infantry to regroup after a Beast Link is activated. Players who understand this timing can predict when and where the next engagement will happen, which is why map awareness is often the difference between a coordinated squad and a scattered team.
The 3 Maps in Early Access Breakdown
The beastlink 3 maps early access lineup gives you three distinct environments that each test different skills, and knowing their layouts is the foundation of any serious beastlink map strategies guide. These maps are based on real world cities, which means the street grids, landmark placements, and district divisions all follow recognizable urban planning patterns. That familiarity is a double-edged sword, because while it makes navigation intuitive, it also means experienced players know exactly where ambush spots and sightlines will be.
Each map in the current rotation has its own personality, and the beastlink map tier list reflects how competitive players rank them based on balance, flow, and strategic depth. While no map is objectively broken, some layouts favor certain playstyles more than others, which is why you should practice on all three rather than one-tricking a single location. For more comprehensive coverage of every arena, check out our Beastlink All Maps guide to see how these tips apply across different layouts.
Map 1: Harbor District
The Harbor District is the most infantry-friendly map in the current rotation, because its dense container yards and warehouse complexes provide abundant cover for soldiers. The beastlink map size here is medium, which keeps engagement distances manageable while still offering enough space for Beasts to operate without instantly dominating the entire battlefield. The waterfront creates a natural boundary on one side, which funnels combat toward the central shipping lanes and makes flanking predictable.
| Harbor District Feature | Strategic Value |
|---|---|
| Container Stack Sightlines | High-ground sniping positions, difficult to dislodge |
| Warehouse Interiors | CQB ambush points, serum cache locations |
| Waterfront Promenade | Open kill zone, vehicle flanking route |
| Crane Platforms | Vertical mobility, Beast pathing obstruction |
The beastlink map tips for Harbor District revolve around controlling the central crane platforms, since they offer sightlines into nearly every major engagement zone. If you are playing infantry, holding these positions lets you support your team from range while staying safe from most Beast attacks. If you are a Beast, destroying the cranes early removes the enemy's best observation posts and forces them into the open streets where you can close the distance.
Map 2: Downtown Core
Downtown Core is the map that most closely resembles a classic Kaiju battleground, because its skyscraper canyon creates dramatic verticality and spectacular destruction opportunities. The beastlink map size here is the largest of the three, which means infantry players need to plan their rotations carefully to avoid being caught in the open when a Beast Link activates. The beastlink map layouts feature wide boulevards that are perfect for vehicle combat but dangerous for foot soldiers who lack cover.
The beastlink map strategies for Downtown Core emphasize rooftop control, since the building heights create natural sniper perches that can dominate entire blocks. However, those same rooftops become death traps when a Beast starts collapsing structures, so you need to constantly monitor your escape routes. The subway system provides an underground alternative for infantry movement, but it also creates predictable chokepoints that experienced Beasts will target with area attacks.
Map 3: Old Town
Old Town is the most chaotic map in the beastlink 3 maps early access rotation, because its narrow streets and tight corners create constant close-quarters engagements. The beastlink map size is the smallest of the three, which means action is almost always nearby and you rarely go more than a few seconds without contact. This map heavily favors aggressive play, since the confined spaces make it difficult for Beasts to maneuver but also limit infantry escape options.
| Old Town Feature | Strategic Value |
|---|---|
| Narrow Alleyways | Ambush corridors, Beast mobility restrictions |
| Plaza Fountain | Central landmark, serum spawn point |
| Rooftop Walkways | Flanking routes, Beast avoidance paths |
| Basement Entrances | Underground cover, surprise attack angles |
The beastlink map tips for Old Town focus on using the vertical walkways to avoid Beast ground attacks while maintaining map control. Because the streets are so narrow, Beasts have limited turning radius and can be kited through the alley network by coordinated infantry squads. This map rewards teams that communicate well and punish solo players who wander into the open plazas without support.
Beast Spawn Points and Landing Hotspots
Understanding Beast spawn points is essential for both infantry and Beast players, because the activation location determines the early-game power dynamic. When a player spends serum to Link with a dormant Kaiju, they appear at a fixed spawn point that varies by map, and knowing these locations lets you prepare or ambush accordingly. The beastlink map tips in this section cover where these spawns are and how to use that knowledge to your advantage.
The spawn system is designed to prevent immediate steamrolling, since Beasts typically appear at the map edges rather than in the center of active combat zones. This gives infantry players a warning window to reposition before the Kaiju reaches the main fighting areas, but it also means Beasts have a clear path to the highest-value destruction targets. The beastlink map strategies around spawn points involve either rushing to intercept the Beast early or using the warning time to secure objectives.
Landing Zone Analysis
Each map has three to four landing zones where Beasts can spawn, and the beastlink map layouts determine which ones are most advantageous. The Harbor District spawns are clustered near the waterfront, which gives Beasts immediate access to the crane platforms and container stacks that dominate the map. Downtown Core spawns are spread across the outer ring roads, which means Beasts have to traverse the boulevards before reaching the skyscraper canyon where most infantry congregate.
| Map | Spawn Location | Early-Game Advantage |
|---|---|---|
| Harbor District | Waterfront Docks | Immediate crane access, infantry funnel |
| Harbor District | Container Yard North | Flanking route, warehouse ambush potential |
| Downtown Core | East Ring Road | Open approach, vehicle combat opportunity |
| Downtown Core | West Subway Entrance | Underground flank, surprise infantry attack |
| Old Town | Plaza South | Central access, immediate combat contact |
| Old Town | Cathedral Rooftop | Vertical drop attack, sightline dominance |
The beastlink map size directly influences how long it takes a Beast to reach the main combat zones, which creates different pacing across the three maps. On Old Town, the small map size means Beasts are in the fight almost immediately, while Downtown Core gives infantry more time to prepare defensive positions. Players who understand these timing differences can coordinate their serum spending to maximize the impact of their Beast Link activation.
Map Tier List and Strategic Recommendations
The beastlink map tier list ranks the three maps based on competitive viability, balance, and strategic depth, which helps you decide where to focus your practice time. While personal preference plays a role, community data and player reports consistently place certain maps above others for serious play. The beastlink map strategies that work on one map may fail on another, so you need to adapt your approach based on the layout.
According to community reports and player experience, Downtown Core is generally considered the most balanced map because it offers good options for both infantry and Beast playstyles. The beastlink map size provides enough space for tactical maneuvering without feeling empty, and the verticality creates interesting decision points for both sides. Harbor District ranks second because its infantry-friendly design can feel oppressive for Beasts, while Old Town is the most polarizing due to its chaotic close-quarters nature.
Tier Ranking Breakdown
| Tier | Map | Strengths | Weaknesses |
|---|---|---|---|
| S | Downtown Core | Balanced, vertical options, good pacing | Large size can feel empty early |
| A | Harbor District | Infantry-friendly, cover-rich, tactical depth | Beast pathing can be frustrating |
| B | Old Town | Chaotic fun, constant action, ambush potential | Imbalanced for Beast play, RNG-heavy |
The beastlink map tips for competitive play suggest focusing your practice on Downtown Core first, since it offers the most transferable skills across the rotation. The beastlink map layouts in Downtown Core reward map awareness and positioning, which are core skills that carry over to every other mode and map. Once you have mastered Downtown Core, the transition to Harbor District and Old Town becomes much easier because you already understand the fundamental flow of BeastLink combat.
For players who prefer infantry play, Harbor District is the strongest choice because its dense cover lets you outplay Beasts through positioning and smart rotations. The beastlink map strategies for this map revolve around using the container stacks to break sightlines and force Beasts into unfavorable engagements. For Beast players, Downtown Core offers the best balance of destruction opportunities and tactical depth, since the skyscraper canyon creates dramatic collapses that can trap infantry squads.
Advanced Map Strategies for Squad Play
Coordinated squads can leverage beastlink map strategies that solo players simply cannot execute, since map control requires multiple players holding different zones simultaneously. The beastlink map tips in this section focus on team-based tactics that maximize your squad's effectiveness across all three maps. Because the beastlink map size varies so much, your squad needs to adapt its formation and rotation patterns based on the layout.
The most effective squad composition in BeastLink typically includes a mix of infantry roles, with some players focused on serum collection while others provide overwatch and area denial. The beastlink map layouts determine which roles are most valuable, since a map like Old Town rewards aggressive close-quarters specialists while Downtown Core favors ranged support and rooftop control. Your squad should practice on each map to develop specific strategies for the unique challenges each location presents.
Squad Role Distribution
| Role | Primary Objective | Best Map | Key Positioning |
|---|---|---|---|
| Serum Runner | Collect serum fast, avoid combat | Harbor District | Warehouse interiors, container stacks |
| Overwatch | Provide ranged support, call out targets | Downtown Core | Rooftop positions, building ledges |
| Flanker | Ambush Beasts, disrupt enemy formations | Old Town | Alleyways, rooftop walkways |
| Vehicle Driver | Transport squad, road control | Downtown Core | Main boulevards, ring roads |
The beastlink map strategies for squads emphasize communication and role specialization, since a coordinated team can control far more territory than the sum of its individual parts. When a Beast Link activates, your squad needs to decide quickly whether to engage the Kaiju or focus on objectives while it rampages elsewhere. The beastlink map size affects this decision, because on larger maps you can often ignore a distant Beast and continue your objective while on smaller maps you have no choice but to deal with it.
For squads looking to improve, the BeastLink Steam page provides official information about the game's mechanics and features, including the Link system that lets players spend serum to control dormant Kaiju. The official BeastLink YouTube channel also offers trailers and gameplay footage that can help you visualize the map layouts before you drop into a match. Combining these resources with the beastlink map tips in this guide gives you a solid foundation for dominating the Early Access rotation.
Frequently Asked Questions
What is the best map for beginners in BeastLink?
Harbor District is the best starting map because its dense cover and medium beastlink map size give new players room to learn mechanics without being constantly overwhelmed. The container stacks provide safe retreat options, and the warehouse interiors offer predictable engagement zones that help you understand combat flow.
How many maps are available in BeastLink Early Access?
BeastLink launched with 3 maps in early access, which are Harbor District, Downtown Core, and Old Town. Each map is based on real world cities and offers a different play experience, so you should practice on all three to build a complete skill set for competitive play.
Which map is best for playing as a Beast?
Downtown Core is the strongest Beast map because its skyscraper canyon creates spectacular destruction opportunities and the large beastlink map size gives you room to maneuver. The verticality lets you collapse buildings onto infantry positions, and the wide boulevards make it easier to chase down fleeing squads.
Do Beast spawn points change between matches?
Beast spawn points are fixed per map but rotate between the available landing zones each match, so you need to check your position when a Link activates. The beastlink map layouts determine these spawn locations, and experienced players use this knowledge to predict where Beasts will appear.
How important is map knowledge for winning in BeastLink?
Map knowledge decides fights before they start—spawns, chokepoints, and destruction routes dictate whether you flank or get flanked. Memorize high-traffic hotspots and breakable walls to reposition faster. Players who study beastlink map tips win trades without relying on aim. Master one map’s timing, and you’ll control every engagement.