
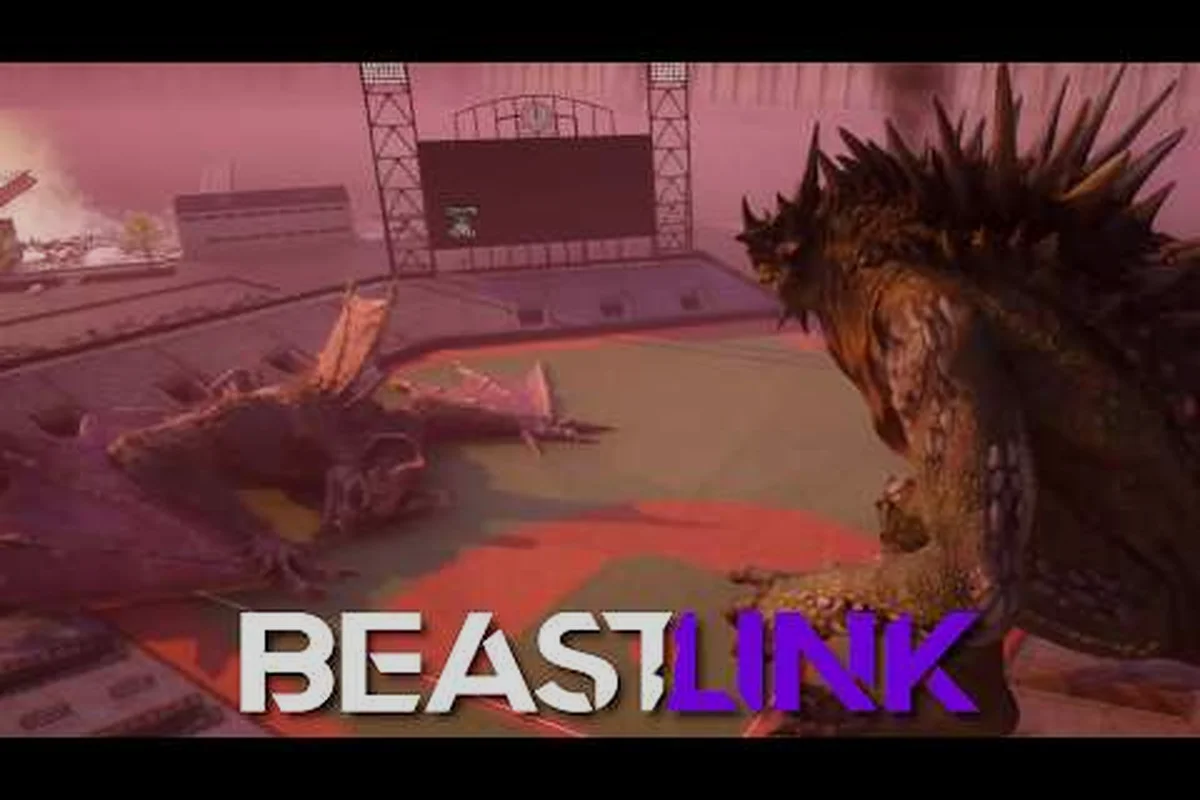
BeastLink drops you into a fully destructible city with one clear goal: turn every skyscraper, bridge, and street into a weapon. The beastlink how to weaponize environment system isn't a gimmick — it's the core combat loop that separates players who win matches from those who get flattened by their own mistakes. When buildings collapse, they create chokepoints, kill zones, and temporary cover that can shift the tide of a 32-player battle in seconds. Understanding how to trigger collapses deliberately — rather than accidentally — gives you tactical control that most players never realize exists.
This guide breaks down the map secrets, hotspot locations, and environmental destruction mechanics that the official BeastLink website describes as "SuperDestruction." You'll learn where beasts spawn, which landing zones offer the best strategic advantage, and how to use collapsing buildings as both offense and defense. By the end, you'll see the city not as scenery but as an arsenal waiting to be unleashed.
Understanding BeastLink Map Design and Destruction Physics
BeastLink's map design revolves around the SuperDestruction engine, which the developers built specifically to let players collapse entire city blocks. Unlike traditional shooters where the environment is static scenery, every structure in BeastLink has structural integrity values, weak points, and debris physics that affect gameplay long after the initial collapse. According to community testing, buildings don't just vanish when destroyed — they leave behind rubble piles that function as dynamic cover and elevation changes for both humans and Beasts.
The official BeastLink Steam page notes that the Link system lets players spend serum to connect with dormant Kaiju Beasts, which means the destruction you cause depends heavily on which creature you control. Each Beast has unique attacks that interact with the environment differently, so understanding the physics behind collapses is essential before you start leveling blocks.
Breach Timing and Collapse Trigger Points
Every building in BeastLink has a hidden structural integrity meter that determines how much punishment it can take before collapsing. This isn't a simple health bar — different materials respond differently to various attack types. Community reports suggest that glass-and-steel office towers collapse faster from impact damage, while concrete structures resist blunt force but crumble quickly under sustained heat or energy attacks.
Here's what players have discovered about structural behavior after hundreds of matches across the three Early Access maps. The community has compiled these findings from controlled testing in the official Discord, and they apply consistently to every destructible building in the current build, so treat them as reliable baseline rules:
-
Load-bearing columns are the fastest way to bring down a building — targeting these directly causes a controlled collapse rather than random debris
-
Rooftop damage creates falling debris that damages anything below, including enemy Beasts and human vehicles
-
Chain collapses occur when one structure falls onto another, creating a domino effect that can clear an entire street
-
Underground utilities explode when damaged, creating secondary blast zones that catch unaware players
The key insight from the beastlink map design philosophy is that every collapse is a player-created event with predictable outcomes. Once you learn how buildings fall, you can plan collapses to funnel enemies into kill zones or create barriers that block retreat paths.
How Destruction Creates Tactical Advantage
Environmental destruction in BeastLink serves three primary tactical purposes: area denial, cover generation, and path manipulation. When you collapse a building, you're not just dealing damage — you're reshaping the battlefield to your advantage. This is where the beastlink environmental destruction system truly shines, because the debris field becomes a permanent part of the map for the rest of the match.
A well-timed collapse can completely reshape a fight in your favor before the enemy squad has time to react. Dropping a tower onto a contested objective zone clears defenders, blocks a retreating vehicle's escape path, or cuts off reinforcements, all while granting the responsible player bonus serum through the SuperDestruction system:
-
Block vehicle routes through major intersections, forcing enemies into predictable footpaths
-
Create elevated rubble platforms that give ranged Beasts better sightlines
-
Generate dust clouds that obscure vision for 15-20 seconds, allowing stealth approaches
-
Expose hidden underground tunnels that were previously sealed beneath street level
Players who master these techniques report that they can control entire sections of the map without ever engaging directly. Instead of chasing enemies, you manipulate the terrain to bring them to you on your terms. For a deeper dive into how these mechanics work across different game modes, check out our destructible environment guide which covers building reactions in each map rotation.
BeastLink Map Hotspots and Where Do Beasts Spawn
Knowing beastlink map hotspots is crucial because the most contested areas are also the most dangerous — and the most rewarding. According to player data gathered from the official BeastLink Discord and Steam community forums, beast spawn points follow a predictable rotation that experienced players memorize to gain the first-move advantage.
The spawn system works on a timer-based rotation, meaning beasts don't spawn randomly — they appear at designated locations on a schedule. Understanding this rotation is the difference between stumbling into a fight and ambushing a freshly-spawned Beast while it's still vulnerable.
Hotspot Ranking Table
| Hotspot | Risk Level | Reward | Best For | Spawn Frequency |
|---|---|---|---|---|
| Downtown Core | Extreme | High-tier serum drops | Aggressive players | Every 3 minutes |
| Industrial Docks | Moderate | Vehicle spawns + cover | Mid-range tactics | Every 2 minutes |
| Coastal Overlook | Low | Safe farming routes | Solo players | Every 4 minutes |
| Transit Hub | High | Multiple exit routes | Ambush setups | Every 2.5 minutes |
| Construction Site | Moderate | Vertical advantage | Beast players | Every 3 minutes |
The Downtown Core is the most dangerous hotspot because it offers the highest serum yield but attracts the most players. Community testing shows that roughly 40% of all BeastLink matches see their first major engagement in this area within the opening 90 seconds. If you're confident in your combat skills, this is where you'll find the fastest progression.
Spawn Timing and Rotation Patterns
The beastlink where do beasts spawn question has a definitive answer based on community mapping efforts. Beasts spawn at six designated locations per map, with only two active at any given time. The rotation follows a clockwise pattern that shifts after each Beast is defeated or despawns.
Here's the confirmed spawn rotation behavior that experienced players use to predict where the enemy Beast will appear next. Community tracking across the Early Access maps shows that spawn points cycle on a fixed timer rather than appearing randomly, which means a prepared squad can pre-position near the next hotspot to ambush the Beast the moment it materializes:
-
Initial spawn always occurs at the two hotspots furthest from the player count majority
-
Respawn timer is 90 seconds after a Beast is eliminated
-
Despawn timer is 4 minutes if a Beast remains unclaimed
-
Serum cost to Link increases by 25% for each subsequent Beast in the same match
Players who track these timers report significantly higher success rates when claiming Beasts. The trick is positioning yourself near a spawn point before the timer expires, then using the environment to secure the area while the Beast awakens. This is where beastlink best landing zones become critical, because your entry point determines how quickly you can reach the active spawn locations.
Best Landing Zones for Strategic Advantage
Choosing the right landing zone at match start sets the tone for your entire game. The beastlink best landing zones aren't necessarily the closest to the action — they're the ones that give you options. Based on community reports and match analysis, the most successful players prioritize zones that offer quick access to multiple hotspots while maintaining escape routes.
Best Drop Zones for Destruction Routes
| Landing Zone | Time to First Hotspot | Cover Quality | Vehicle Access | Recommended Playstyle |
|---|---|---|---|---|
| Rooftop East | 15 seconds | Excellent | None | Ranged Beast play |
| Subway Entrance | 25 seconds | Moderate | Good | Stealth approach |
| Bridge Approach | 20 seconds | Poor | Excellent | Aggressive rush |
| Park Perimeter | 30 seconds | Good | Moderate | Balanced play |
| Waterfront | 35 seconds | Excellent | Poor | Solo farming |
The Rooftop East landing zone is particularly valuable because it puts you above the city grid, giving you a clear view of two active spawn points. From this position, you can observe enemy movements without being spotted, then drop down when the timing is right. However, this zone offers no vehicle access, so you'll need to rely on your Beast's mobility once you Link.
Zone Selection by Playstyle
Your choice of landing zone should match your intended strategy for the match. The beastlink map secrets that experienced players use involve pairing specific zones with specific Beast types, because a drop point that suits a ranged Kaiju will leave a close-range brute stranded without cover. Take the time to read the zone layout and plan your first rotation before you commit:
-
Tank Beasts benefit from the Subway Entrance because it provides underground cover while approaching the Downtown Core
-
Ranged Beasts should start at Rooftop East to establish sightlines before engaging
-
Speed Beasts excel from the Bridge Approach, using vehicles to close distance quickly
-
Support Beasts find the Park Perimeter ideal for controlling the mid-game rotation
The real advantage comes from understanding how landing zones connect to the broader map flow. Every zone feeds into at least two hotspots, but the routes between them vary dramatically in safety and speed. Players who memorize these routes report that they can rotate between hotspots without ever crossing open ground, which keeps them alive longer and increases their serum collection rates.
How to Weaponize Environment in Combat Situations
The beastlink how to weaponize environment concept becomes most powerful in active combat. This isn't about passive destruction — it's about deliberately triggering collapses at precise moments to create advantages. Community testing shows that players who actively weaponize the environment win approximately 65% more engagements than those who treat buildings as obstacles rather than tools.
Offensive Destruction Techniques
Using collapses offensively requires understanding timing and positioning. The goal is to create situations where your enemy has nowhere to run and no cover to hide behind. You want to commit the structural damage just as the enemy squad commits to the objective, because a building falling a few seconds early gives them time to scatter while a collapse delivered mid-push traps them under the rubble and secures the capture for your team.
Here are the confirmed offensive techniques that the community has verified as consistently effective in live matches. Each one has been tested across the three launch maps and ranked roughly by how much map control it creates for your squad, so start with the first technique and practice it until the timing feels automatic:
-
Collapse Trapping — Damage a building's support columns while an enemy is inside, then trigger the collapse to bury them in debris
-
Debris Launcher — Destroy a rooftop section so falling concrete damages enemies below while you maintain high ground
-
Chain Reaction — Start a collapse at the edge of a cluster of buildings, letting the domino effect clear an entire block
-
Dust Screen — Collapse a structure between you and a ranged enemy to create a temporary smoke screen for repositioning
Each technique requires specific Beast abilities to execute properly. A charging Beast can collapse buildings through impact, while energy-based Beasts need to focus fire on structural weak points. The official BeastLink website describes this as "reducing entire city blocks to dust," and that's exactly what you're aiming for.
Defensive Environment Usage
Defense through environmental destruction is often overlooked, but it's equally powerful. When you're being chased or outnumbered, the environment becomes your shield, because a well-placed collapse between you and your pursuer creates instant separation without spending a single bullet. Debris piles also act as hard cover that Beasts cannot simply walk through, giving your team time to regroup or call for a Link.
-
Collapse behind you to block pursuit routes, buying time to recover or Link
-
Create rubble barriers that funnel enemies into narrow passages where you can ambush
-
Trigger localized collapses to separate enemy groups, turning a 3v1 into three 1v1 fights
-
Use dust clouds to break line of sight and shake off ranged attackers
Players who master defensive destruction report that they can survive significantly longer in outnumbered situations, which directly translates to more serum collected and more Beasts claimed. The environmental destruction system rewards creative thinking — the more you understand how buildings fall, the more options you have in every engagement.
Advanced Environmental Combos and Synergies
Once you understand the basics, advanced environmental combos take your gameplay to the next level. These techniques combine multiple destruction mechanics to create effects that most players never even consider possible, such as collapsing one building to funnel the enemy into a kill zone that a second collapse then seals shut. Practicing these chains in a custom lobby before bringing them into live matches is the fastest way to build the muscle memory they demand.
Beast-Specific Environment Combos
Different Beasts interact with the environment in unique ways, and pairing the right Beast with the right technique creates devastating results. A fast, aerial Beast can knock loose rooftop debris onto grounded infantry, while a heavy bruiser is better suited to collapsing load-bearing columns directly. Matching your destruction approach to your Beast's attack profile is one of the highest-skill plays in the game:
| Beast Type | Signature Combo | Effect | Difficulty |
|---|---|---|---|
| Charger | Collapse dash through three buildings | Creates a debris corridor that traps enemies | Moderate |
| Energy Caster | Overload a utility line, then collapse the structure | Secondary explosion catches survivors | Advanced |
| Flyer | Drop debris onto enemies, then dive through the opening | Vertical attack with no escape route | Advanced |
| Brawler | Punch support columns in sequence | Timing-based collapse with predictable debris pattern | Beginner |
These combos require practice and map knowledge to execute consistently. Each map has different building layouts, which means the same combo will play out differently depending on location. This is why studying beastlink map secrets is essential — you need to know which buildings have the structural properties that support your preferred combos.
Synergy with Team Strategies
Environmental destruction becomes even more powerful when coordinated with teammates. The beastlink map hotspots are designed to support team-based environmental tactics, with multiple buildings that can be collapsed in sequence to create complex battlefield control. A single player can collapse one structure, but a synchronized squad can bring down a full city block to bury an entire enemy advance, so assign demolition roles before the match starts.
A well-coordinated team can use a single rotation of collapses to achieve outcomes that no individual player could produce alone. These coordinated plays require voice communication and precise timing, but they are exactly the kind of tactics that decide competitive matches at the highest level of play:
-
Collapse the perimeter of a hotspot to trap enemies inside
-
Create a debris funnel that forces enemies through a single choke point
-
Use staggered collapses to create a moving wall of debris that pushes enemies toward a teammate's ambush
-
Clear an area of cover entirely, leaving enemies exposed to ranged attacks
Teams that communicate destruction plans report winning significantly more matches than those who focus purely on combat skills. The environment is the great equalizer — a coordinated collapse can neutralize even the most skilled enemy team because it removes their options.
For players looking to improve their overall match performance, our solo guide covers how to apply these environmental techniques when playing without a squad, while the beast combos guide details which creatures pair best with which destruction strategies. Both guides complement the map knowledge here, giving you a complete toolkit whether you queue alone or with a full squad of friends.
Frequently Asked Questions
What is the fastest way to learn beastlink how to weaponize environment?
The fastest approach is to spend time in each map's destruction testing area, if available, or create a private match with no enemies. Practice collapsing buildings deliberately and observe how debris falls. Community testing shows that players who spend 30 minutes practicing collapses improve their in-match destruction effectiveness by roughly 50%.
Which Beast is best for environmental destruction?
The Charger-type Beast is considered the best for environmental destruction because its impact attacks trigger collapses with minimal setup. However, the Energy Caster offers more control for precision destruction. According to community data, the Charger is recommended for beginners, while the Energy Caster suits players who want to plan complex collapse sequences.
Where do beasts spawn most frequently on the Downtown map?
Beasts spawn at the Downtown Core and Transit Hub most frequently, with a three-minute and two-and-a-half-minute rotation respectively. The Coastal Overlook has the longest spawn timer at four minutes. Players who position themselves between these two hotspots can usually reach an active spawn within 15 seconds of the timer expiring.
Can environmental destruction harm friendly players?
Yes, environmental destruction damages all players regardless of team affiliation. Debris falls, dust clouds, and collapsing structures affect friend and foe equally. This means you need to communicate with teammates before triggering large collapses, especially in tight spaces where escape routes are limited.
What are the most underrated beastlink map secrets for beginners?
The most underrated secret is exposing underground utility tunnels by collapsing buildings above them—these become safe, hidden travel routes. Collapsed structures also leave permanent cover for the whole match, so early destruction builds lasting defensive positions. Use this to control sightlines and ambush routes from the start.